How to do a self-hosted install of GitLab on Ubuntu 20

Many developers familiar with service-based Git offerings are surprised to discover there’s a on-premises GitLab offering available for those with non-functional requirements that demand their DevOps tools be hosted outside of the cloud.
If these specific requirements fit your bill, then let’s demonstrate how to install GitLab on Ubuntu 20.
Prerequisites
The self-hosted GitLab Ubuntu installation doesn’t have any prerequisites, surprisingly. The only requirement is a version of Ubuntu that’s at or more recent than the Xenial Xerus release. Developers don’t even need Git installed either. In this tutorial, I will install GitLab on Ubuntu 20, the Focal Fossa release. The only other piece of software I installed on my Ubuntu image is Notepad++, because I’m not a big fan of Nano or the vi editor.
However, when a developer installs GitLab on Ubuntu 20, it causes a few problems. Basically, GitLab hasn’t updated their public downloads to be in sync with Focal Fossa as of July 2020. Don’t fret, because a developer will need an extra step to download the appropriate files for a successful install. I will document the extra step in this tutorial, but it’s likely the work-around won’t be required in a few months.
Friendly domain
When a developers installs GitLab on Ubuntu, there are a few times when a friendly domain name is required. Developers can substitute localhost if they please, but it looks prettier if you use a domain name and map it to your loopback address through an etc hosts file edit. In this example, I configured gitlab.mcnz.com to point back to my local machine.
The entire GitLab Ubuntu installation can be performed within the terminal window through the command line.
GitLab install commands
Developers can issue the following commands to install GitLab on Ubuntu, but they will need to substitute gitlab.mcnz.com for their own domain.
sudo apt-get update
sudo apt-get install
sudo apt-get install -y curl openssh-server ca-certificates
sudo apt-get install -y postfix
curl https://packages.gitlab.com/install/repositories/gitlab/gitlab-ee/script.deb.sh | sudo bash
$ sudo EXTERNAL_URL="https://gitlab.mcnz.com" apt-get install gitlab-ee
GitLab Ubuntu 20 install error
If a developer runs into an “Unable to locate pacakge gitlab-ee” or “Unable to locate package gitlab-ce” error when you install GitLab on Ubuntu, you’re a victim of the fact that the Focal Fossa Ubuntu GitLab installation binaries aren’t publicly distributed yet.
However, developers can bypass that problem by issuing the ‘CURL’ command directly against the GitLab install binaries hosted on gitlab.com. The following two commands will get your on-premises GitHub install on Ubuntu 20 moving again.
curl -s https://packages.gitlab.com/install/repositories/gitlab/gitlab-ce/script.deb.sh | sudo bash
sudo EXTERNAL_URL="https://gitlab.mcnz.com" apt-get install gitlab-ee
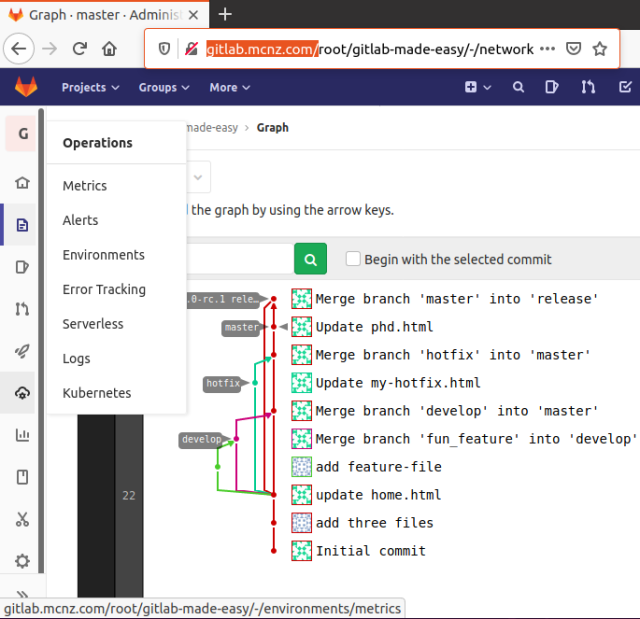
Once a developer completes installing GitLab on Ubuntu, they can post the domain name used into the address bar of the browser of choice and the GitLab GUI will appear. Developers will be asked to set a password for the root user, after which they will be asked to log in again. From there, developers can start using the on-premises GitLab installation in exactly the same manner as if it were a cloud-based offering. Developers can create a GitLab project, clone a GitLab repository and start creating branches and performing merge requests. The GitLab on-premises offering is there for ongoing exploration.
The source code and sample project used for these examples can be found on the gitlab-made-easy project page on GitLab.
On premise install of GitLab on Ubuntu