How to install Gitflow for Windows on old Git installations example

Before you start a Gitflow installation, check to see if Gitis already pre-packaged with your current Git installation. Since the Git for Windows September 18th, 2015 release, Gitflow has been prepackaged with the Git for Windows download.
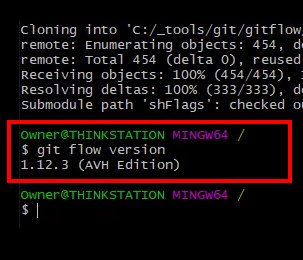
If you have downloaded and installed Git for Windows any time in the past 5 years, Gitflow will be built in. Just run the following command and see if it shows up:
git flow version
1.12.3 (AVH Gitflow Edition)
You only need to follow these additional Gitflow installation steps if you are using a much older installation of Git. Don’t go through the following steps if it’s already installed.
Gitflow install
Gitflow is the most popular workflow for managing Git branches and integrating hotfixes, development branches and release branches into production. However, Gitflow isn’t bundled with the Git installation, so if you want to use it, you need to install it yourself.
The installation of Gitflow on Ubuntu is a lead-pipe cinch. You just issue an “apt install” command and you’re good to go:
apt install git-flow
How to install Gitflow
Unfortunately, the Windows Gitflow install isn’t quite as simple. To install Gitflow on Windows, follow these steps:
- Download both the bin and dependency files for GnuWin from SourceForge.
- Extract the contents of the GnuWin downloads to a temp folder.
- From the extracted bin folder, copy these three files to Git’s bin directory:
- libintl3.dll
- libiconv2.dll
- getopt.exe
- Run the following command from your Git installation folder:
-
git clone --recursive git://github.com/nvie/gitflow.git
-
- Open a command window with Administrative in the contrib folder of the cloned repo
- Run the following command, pointing to Git’s installation root:
-
msysgit-install.cmd "C:\Program Files\Git"
-
- Run “git flow version” to verify the Windows Gitflow install.
When you complete these Windows Gitflow installation steps, the Gitflow tool will be available through the git utility when accessed through the command line.
Gitflow Workflow Diagram
If you want to take Gitflow for a test run, take a look at the Gitflow diagram below and follow the Gitflow commands underneath it to perform this exact Git Flow workflow.

The Gitflow release branch is made from the develop branch and gets merged into both master and develop when finished.
Test your install with ‘git flow init’
To run through a quick initialization of Gitflow and work with some branches, just follow these commands. They’ll take you through a quick Gitflow workflow:
$ git flow init
Initialized empty Git repository in C:/_tools/temp/.git/
Create a feature branch in your new repo:
$ git flow feature start gitflow_feature_branch
Switched to a new branch 'feature/gitflow_feature_branch'

$ git branch -a
develop
* feature/gitflow_feature_branch
master
When the Gitflow feature is complete, the feature branch is deleted.
$ git flow feature finish gitflow_feature_branch
Switched to branch 'develop'

$ git branch -a
* develop
master
Use the “git flow release start” command to create the release branch.
$ git flow release start 0.2.1
Switched to branch 'release/0.2.1'

$ git branch -a
develop
master
* release/0.1.0
When you’re done with the release branch, run the “finish” command.
$ git flow release finish '0.2.1'
Already on branch 'master/mail'
Delete branch release/0.2.1
The release branch is deleted, and all you’re left with is the develop and master branches with an additional tag on the repo.
$ git branch -a
develop
* master

$ git tag -l
0.2.1
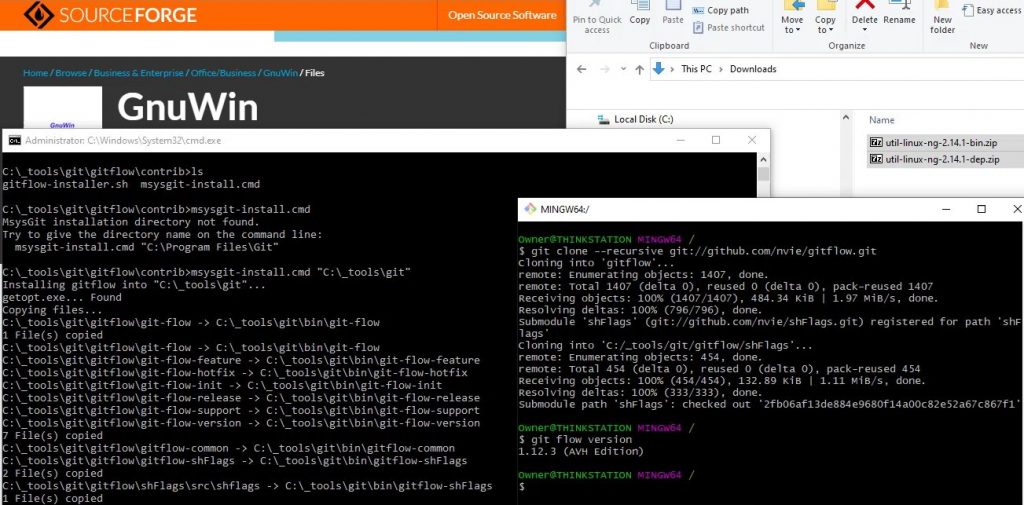
The Windows Gitflow install requires GnuWin utilities to be downloaded and the Gitflow project to be cloned.