How to use the git init command
Need to create a new Git repository? Then you'll need to learn how to use the git init command, because that's the only way to create a new Git repo.
Even if you create a new repository in GitHub Desktop or Bitbucket's Sourcetree, behind the scenes the process invokes the git init command.
What is a Git repository?
A Git repository is the heart and soul of Git. Nothing noteworthy happens in Git without a Git repository.
Every project or microservice an organization creates is mapped to its own repository, and each individual repository is responsible for several key tasks:
- Maintain a Git commit history.
- Track branches, merges and rebases.
- Link to providers such as GitHub or GitLab.
- Synchronize with remote repositories.
- Manage local Git configuration.
To do anything with Git, you need a Git repository. The git init command is how you create one.
How to create a repo with git init
Git is an extremely user-friendly tool, and git init is an extremely user-friendly command.
To create a new, local repository with the git init command, follow these steps:
- Make sure Git is installed.
- Create a folder for your project.
- Open the Git Bash tool.
- Issue the git init command.
- Verify the hidden .git subfolder was created.
With the new Git repository created, a programmer can concentrate on developing code, performing Git commits and interacting with remote repositories though push, pull and fetch operations.
Git init example
Here's a simple example of how to use the git init command to create a new, local repository to track their files.
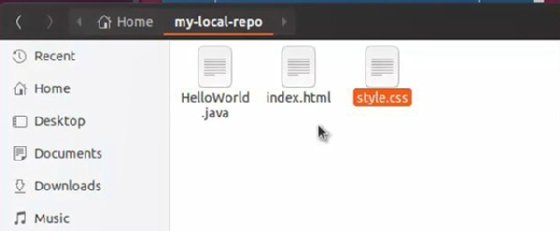
First, create a folder on their computer for the software project. For this git init example we will name the folder my-local-repo.
Issue the git init command
From within the project folder, issue the git init command in the terminal window as shown below. This creates a new Git repository, evidenced by the creation of a hidden subfolder named .git.
$ git init
Initialized empty Git repository in /my-local-repo/.git/
$ ls –a # The –a switch will show hidden directories
.git
Add files to the new Git repo
After creating the repository, add files to the project and edit those files as you develop the application.
$ touch index.html
$ touch HelloWorld.java
$ touch style.css

Add files to the Git index
Before performing a commit, add the files to Git's tracking system -- also known as the Git staging index -- with the git add --all command.
$ git add --all
Perform a git commit
Finally, once you have updated the staging index, perform a git commit:
$ git commit -m "My first commit"

Then continue to update files, add them to the staging index and perform subsequent commits.
If a developer wants to share their code with others, they can add a remote repository on GitHub or GitLab to which they can push their commits.
Once a Git repository is created, this opens a wealth of operations that help a developer track their progress, manage their commit history, branch into isolated development spaces and even share their code with others.
However, in order to do any of these things, the first step is always to create a new repository with the git init command.


