How to list and show the git stash history
The git stash history list
Use of the git stash should be the exception, not the rule.
For day-to-day development, programmers should regularly check into topic branches, commit their code and merge into a feature branch. However, from time to time a developer must save a snapshot of their working tree to the stash.
One problem with intermittent use of the git stash command is that it’s easy to forget what you’ve pushed in there, and its contents can grow unwieldly over time. That’s where the git stash list and git stash show commands come in. They help you track your stash history, and see which entries you should keep and choose which entries to drop.
How to show the git stash history
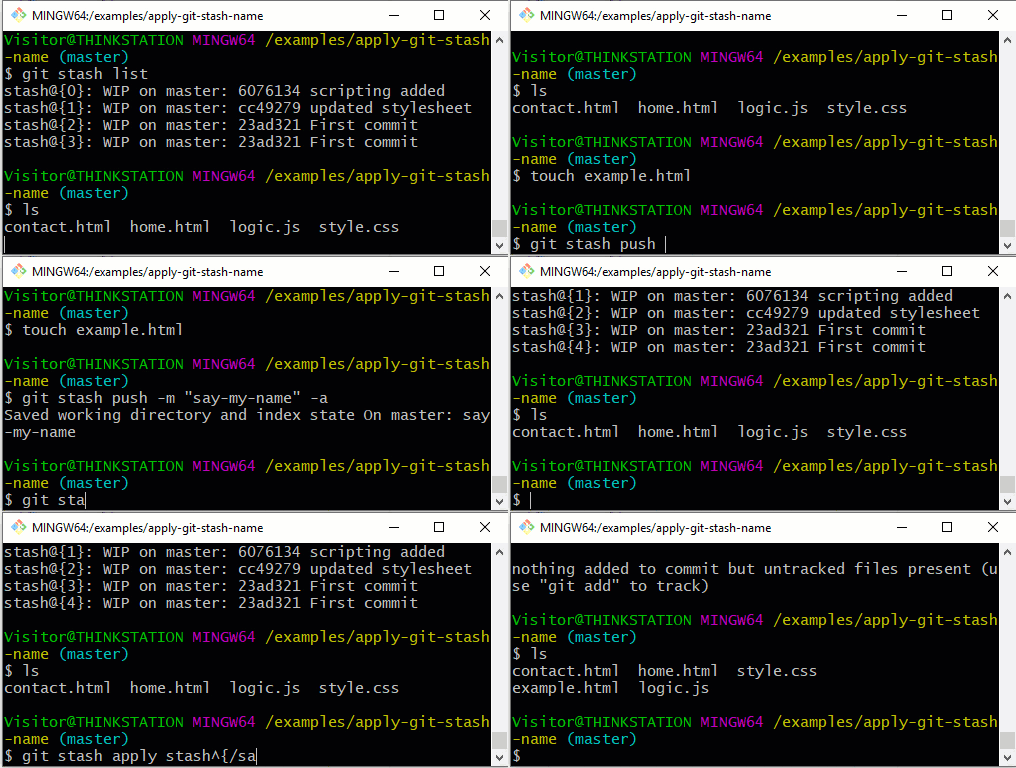
To view your commits to the git stash history, the default list command will suffice:
git stash list
Note that the git stash list command takes all the same options as git log, which means there are endless enhancements and formatting options.

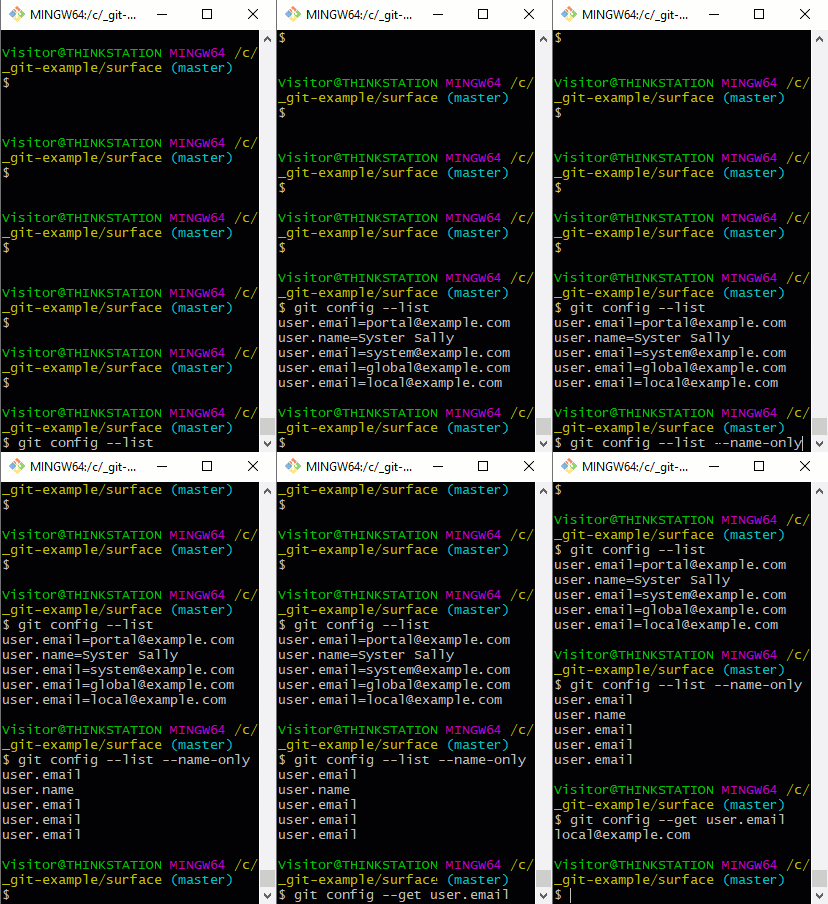
The –list switch can also be used with git config.
For example, to display stashes attached to all branches, not just the currently active one, use the –all switch:
git stash list --all
If your git stash history is long, you can choose to view an arbitrary number of the most recent entries by providing a number option.
git stash list -3
Git stash before and after
If you want to search the git stash history based on a date range, use the git stash list –before and –after options:
git stash list --before 5.days.ago
git stash list --after 5.days.ago
If you want to view the diff of changes for each stash, use the -p option:
git stash list -p
The –stat option shows a summary of changes for each element in the git stash history:
git stash list --stat
And if you want a concise listing, use the –oneline option:
git stash list --oneline

How to pop and apply git stash by name.
Git stash show commands
One you have identified the target entry, you likely want to see what is in that stash. This is where the git stash show command comes in. This displays a summary of file changes in the stash.
To see the difference between a stash and your local Git working tree, you can use the -p option:
git stash show -p stash@
To see the difference between what’s in the stash and what’s checked into the HEAD on the master branch, use git diff:
git diff stash@ master
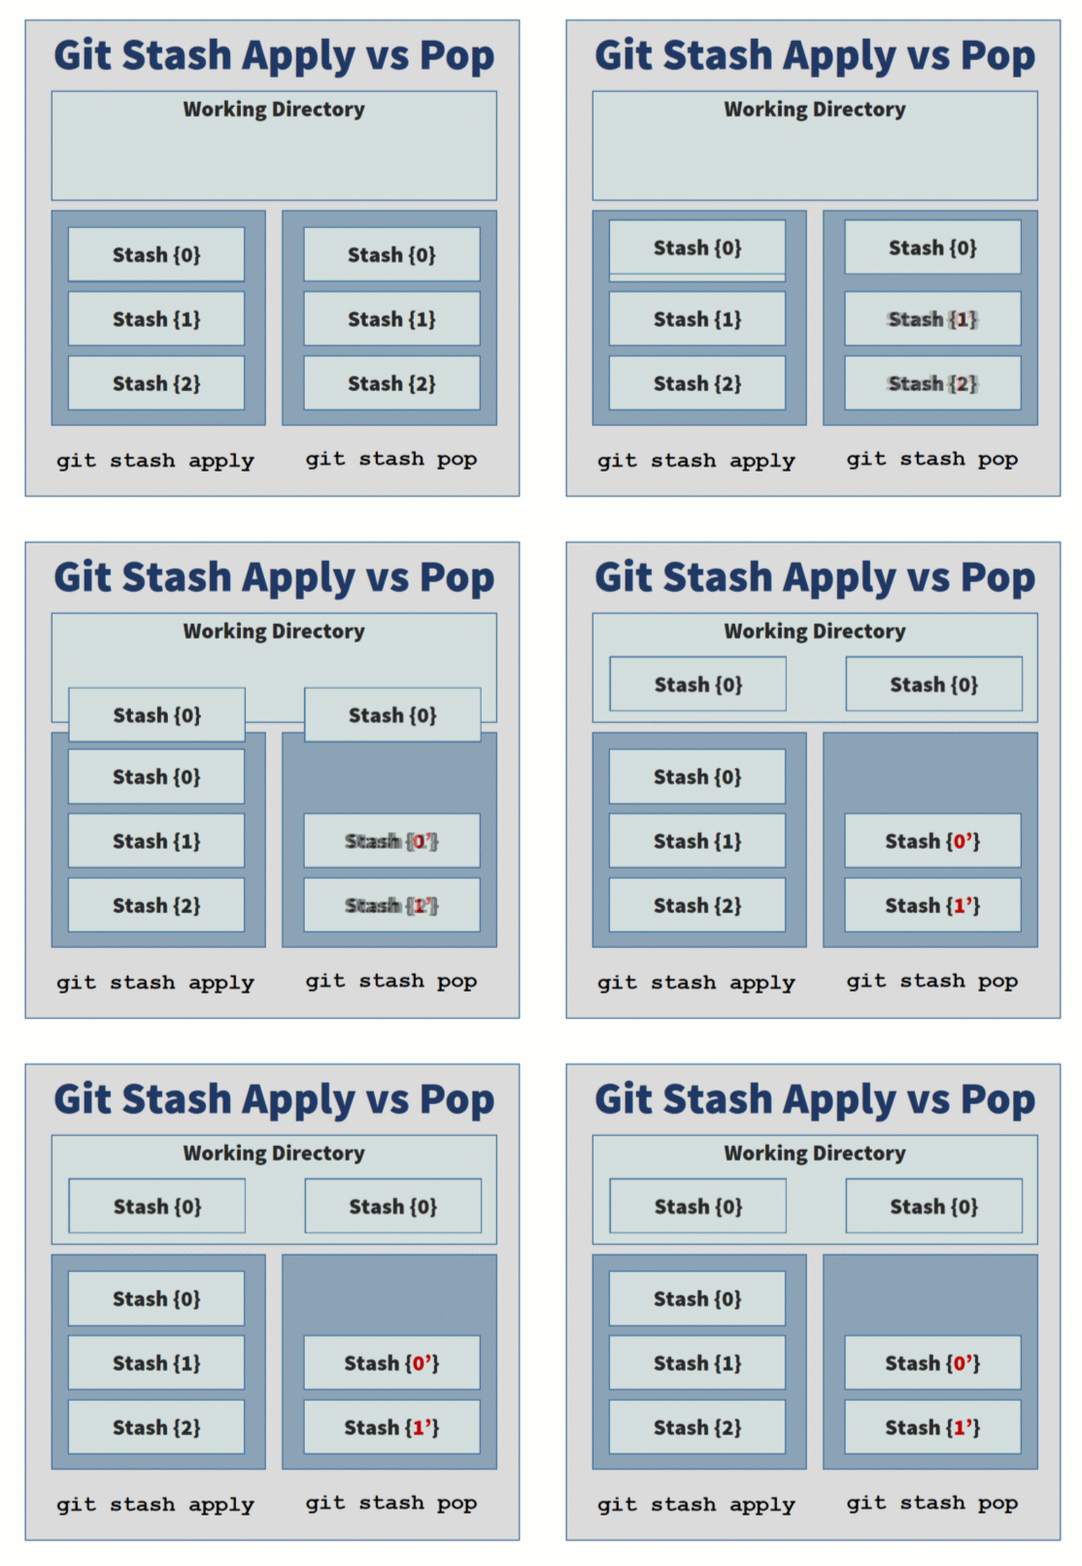
Once you find the stash of interest, you need to figure out what to do with it. The most likely course of action is to perform either a git stash push or pop.
Dealing with git stash conflicts
If a git stash conflict occurs on a push or pop, you might want to instead create a new, independent branch for the stash and then merge it into your topic branch or feature branch after you have examined it. To create a branch based on a stash use the following command:
git stash branch branchname stash@1
Finally, after working with the git stash list command, you might conclude that you don’t need a particular stash. To delete a stash, use the drop command:
git stash drop
How to clear the git stash list
The drop command deletes stash entries one at a time. If you’re convinced you’ll never again need to show or list git stash entries, you can remove them all with the clear command:
git stash clear
And those are the ins and outs of how to list and show git stash entries and keep track of your shelved changes.
Cameron McKenzie is an AWS Certified AI Practitioner, Machine Learning Engineer, Solutions Architect and author of many popular books in the software development and Cloud Computing space. His growing YouTube channel training devs in Java, Spring, AI and ML has well over 30,000 subscribers.
| Git, GitHub & GitHub Copilot Certification Made Easy |
|---|
| Want to get certified on the most popular AI, ML & DevOps technologies of the day? These five resources will help you get GitHub certified in a hurry.
Get certified in the latest AI, ML and DevOps technologies. Advance your career today. |


